


Before the Tool Is Cut: What Injection Moulders Look for in a Part Design
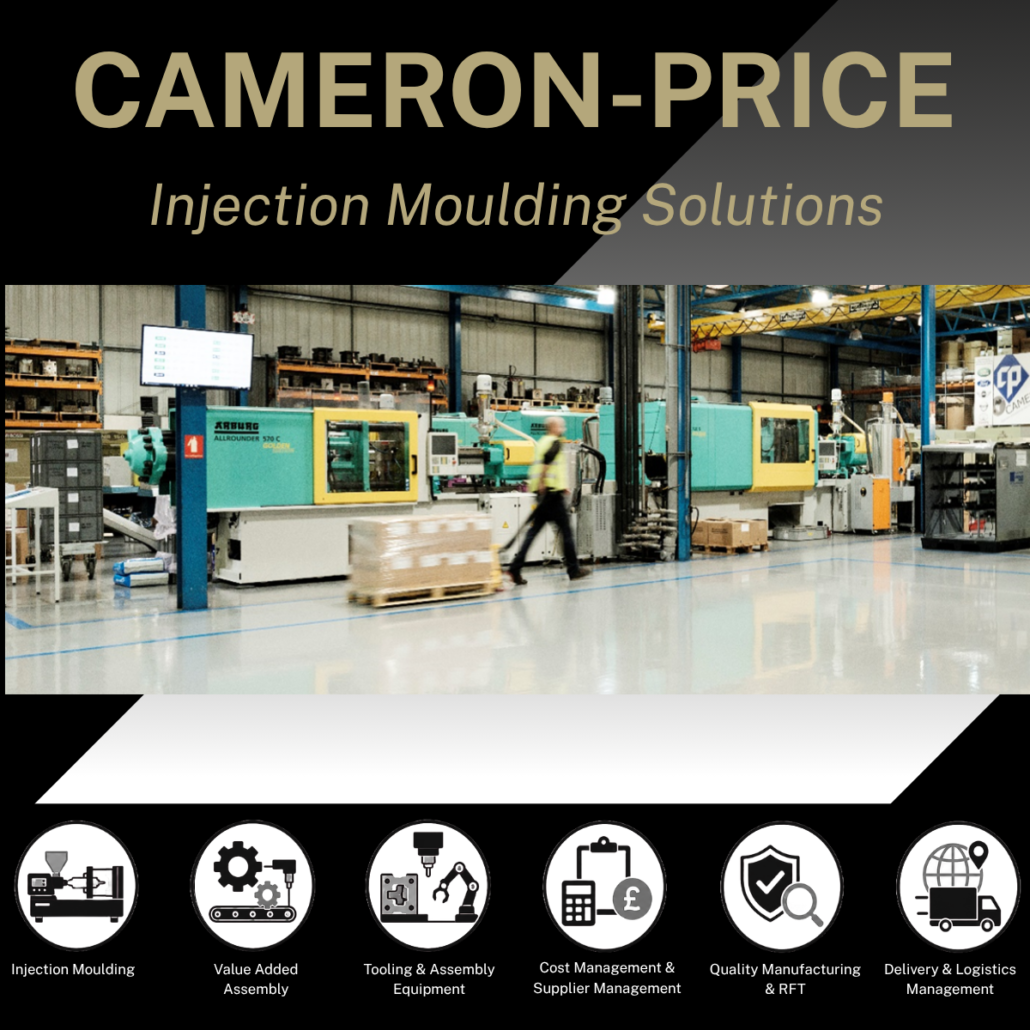
A part design can be sound engineering and still be difficult to mould. The two are not the same question, and without an early manufacturing review, the gap between them may only become apparent once steel has been cut and the first shots come off the machine. That is the expensive moment to find it.
This is what an injection moulder looks at when a customer-supplied design arrives, and why that review is worth having before tooling is committed.
Why review a part before tooling?
Tooling is normally the largest single cost in a moulding project, and it is the least forgiving. Changing a wall section or moving a gate is a small piece of work at the point where the part is still a model on screen. Once the tool is cut, the same change means reworking hardened steel, and once parts are running it can mean scrap, sorting and a tool back on the bench.
A review before tooling is a manufacturing read of the design. Cameron-Price works from customer-supplied designs and gives input on how the part is likely to behave in the process, where tooling complexity is being added, and what that means for consistency and cost. Responsibility for the product design, and for approving any change to it, stays with the customer. What the review adds is a moulder’s view of the same drawing, which comes out of almost 60 years of moulding parts rather than out of a theoretical position.
Wall thickness and cooling
Wall thickness is the first thing most moulders look at, because more downstream problems trace back to it than to anything else.
Plastic shrinks as it cools, and it shrinks by different amounts depending on how thick the section is and how long it takes to solidify. A part with even walls cools evenly and comes out predictable. A part that steps from a thick section to a thin one cools at two different rates in the same shot, and the thick area keeps pulling material after the thin area has frozen off. That shows up as sink marks on the visible face, internal voids, or a part that warps out of tolerance a day after it was moulded.
On review, the questions are whether the nominal wall is consistent, whether any transitions between thicknesses are gradual rather than abrupt, and whether the wall is thick enough to fill the full length of the part at sensible pressures without being so thick that cycle time and material cost climb for no functional gain.
Draft and component release
Every face that runs in the direction the tool opens needs a small taper on it so the part can let go of the steel. Without it, the part grips the core as it shrinks, and ejection has to fight it.
Parts with insufficient draft tend to show drag marks down the walls, stress whitening around ejector pins, or distortion where the part has been pushed off a core it did not want to leave. Textured surfaces need more draft than polished ones, because the texture itself is an undercut in miniature.
A design review picks up faces where draft has been left off, usually on internal ribs and bosses rather than the outside surfaces, and identifies where additional draft could reduce the risk of production problems without necessarily affecting the part’s function.
Ribs, bosses and local thickness
Ribs and bosses are how a moulded part gets stiffness and fixing points without going to a thicker wall throughout. Sized correctly they do that job quietly.
Sized incorrectly they create exactly the thick section that even walling was meant to avoid. A rib that is as thick as the wall it sits on creates a heavy junction of material at the base, and that junction sinks. On a visible face, the sink appears as a faint line tracing the rib on the opposite side. The usual approach is to keep a rib to a proportion of the adjoining wall, with a radius at the base and draft up the sides, and to use several shallower ribs rather than one deep one where more stiffness is needed.
Bosses raise the same question with the addition of a hole. A boss with a thick wall around a cored hole holds heat, sinks on the outer face and can trap gas at the top of the core. Coring out material behind the boss and supporting it with gussets tends to serve better than simply making it solid.
Undercuts and tooling complexity
An undercut is any feature that stops the part lifting cleanly as the tool opens: a snap fit, a side hole, a clip, a recess on an internal face.
Undercuts are entirely achievable. They are produced with side actions, lifters or collapsing cores. What they are not is free. Each mechanism adds cost to the tool, adds moving parts that need maintaining, adds cycle time and adds a further thing that can wear or misalign over a long production life.
This is one of the most useful conversations to have before tooling, because an undercut is often there by habit rather than by requirement. A feature reoriented, split across the parting line, or approached from a different direction can sometimes deliver the same function with a simpler tool. Where the undercut is genuinely needed, knowing that early means the tooling is specified for it from the start rather than being revised for it later.
Material behaviour
Geometry and material are one question, not two. The same drawing moulded in two different polymers is effectively two different jobs.
Materials differ in how readily they flow, how much they shrink as they cool, whether that shrinkage is even in all directions, how much moisture they pick up before processing and how they respond to the temperature and chemical conditions the finished part will meet in service. A filled grade will shrink differently along the flow direction than across it, which affects flatness on a large part. A material chosen late, after the geometry is fixed, can leave the part compromised in a way that better wall sections would have avoided.
Where a material has already been specified, the review looks at whether the geometry suits it. Where it has not, it is worth settling early against what the part actually has to do. That advice feeds through design and development, alongside engineering and tooling input that considers how the selected material is likely to fill, cool and perform in production.
Gate position, weld lines and finish
The gate is where molten material enters the cavity, and its position governs a good deal of what the finished part looks like and how strong it is.
Material flows out from the gate and fills the cavity along whatever paths the geometry allows. Where two flow fronts meet, typically around a hole or a core, they form a weld line. Weld lines are a normal feature of moulding, but they can create a locally weaker area and may also be visible. Their position is decided by where the gate sits, so it is a choice worth making deliberately rather than accepting whatever falls out.
The review also covers where a witness mark from the gate is acceptable, which faces are cosmetic and which are hidden, and where air needs to escape as the cavity fills. Trapped air shows as short shots or burn marks in the corner furthest from the gate.
Turning customer-approved designs into tooling
Once the design is settled and the customer has approved it, the review output becomes the brief for the tool.
Wall sections inform cooling layout. Draft decides how the part is ejected. Undercuts define what mechanisms the tool needs. Material shrinkage sets the cavity dimensions. Gate position is designed in rather than added on. Because tooling, moulding, assembly and dispatch sit under one roof at Cameron-Price, the decisions taken at review carry through with continuity between the tooling and production stages, and the same quality and performance controls that sign off first-off samples are the ones that keep parts consistent across the production life.
When to involve an injection moulder
The short answer is before the design is frozen, not after.
A moulder brought in at concept stage can flag a costly feature at the point it is still cheap to change. Brought in once tooling is quoted, the same observation arrives as bad news. Brought in after the tool is cut, it arrives as a rework. There is more on the commercial side of that timing in five reasons to involve your moulder.
The point of the review is not to take the design away from the people who own it. It is to put a manufacturing opinion next to it early enough that the opinion is still useful.
Discuss your part before tooling
If you have a customer-supplied part design in development, or an existing design that has proved difficult to mould, Cameron-Price can review it from a manufacturing and tooling perspective before the tool is committed. Take a look at our capabilities or get in touch and we will go through it with you.